This post will show how to use EXM to send a welcome email to newly registerd users.
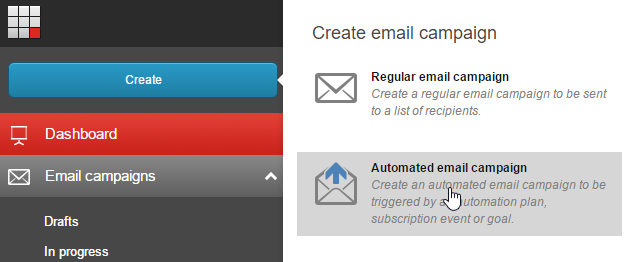
Open the Email Experience Manager application from the Launchpad. The EXM application will open to the dashboard. Click the Create button in the top left and select Automated email campaign.
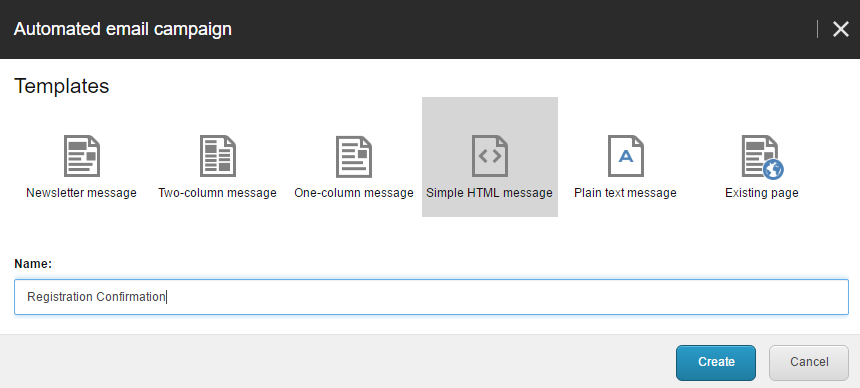
In the dialog that opens, select Simple HTML Message and give your message an appropriate name, e.g. Registration Confirmation. Click the Create button.
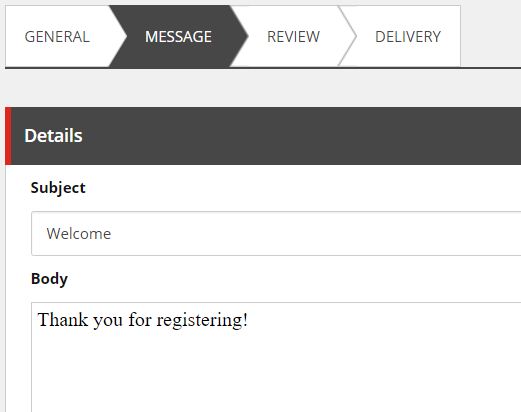
On the Message tab, enter a subject and body for your welcome email.
On the Review tab, you can send yourself a test to ensure that EXM is set up correctly and that the message looks the way you want it to. On the Delivery tab, make sure Activate message now is selected and click the Activate message button. Confirm that you would like to activate the message in the dialog that opens.
Trigger the Welcome Email
Now we need to go back to our register form and make it send our email after the new user has been created. Open the form in Form Designer and select the submit button. In the left column, click the Edit link in the Save Actions section. Add the Send Email Campaign Message action to the list after the Create User action.

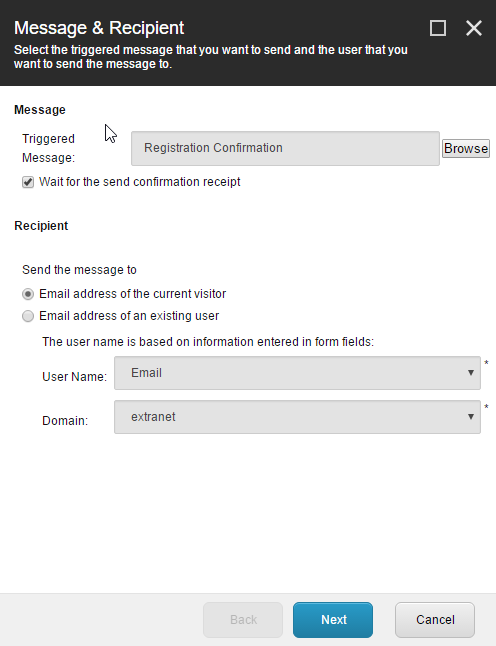
Click the Edit button and select your Registration Confirmation message. The Recipient settings should be okay with the default which is to send the message to the email address of the current visitor which is being set by the login action.
Click Next, then Finish. Save and close your form and then publish. You should now be able to test your registration and get a welcome email.